At 8:45 a.m. on 2 December 1805, the moment the morning fog lifted, the Allied army of roughly 87,000 had already abandoned the Pratzen Heights at the center of the field and shifted its weight south. Napoleon had spent three days designing that movement. Seven hours later the Allies had lost 27,000 men and vanished from the field. Austerlitz is called Napoleon's "masterpiece" not for the brilliance of the central breakthrough but for the design that made the enemy give up the center.
1. Basic Information
- Date
- 2 December 1805approx. 07:00–16:00
- Place
- Near Austerlitzpresent-day Moravia, Czechia
- Belligerents
- France vs. Russia + AustriaThird Coalition
- Result
- Decisive French strategic victory→ Treaty of Pressburg
Manpower
Allies about 1.2×
Guns
Allies about 2.0×
Casualties (killed, wounded, captured)
Fr. lost about 3.5× fewer
| Side | France | Allies (Russia & Austria) |
|---|---|---|
| Supreme command |
 NapoleonEmperor · age 36 NapoleonEmperor · age 36
|
 Alexander ITsar of Russia · age 27 Alexander ITsar of Russia · age 27
 Francis IIEmperor of Austria · age 37 Francis IIEmperor of Austria · age 37
|
Note: for the chain of command down to chiefs of staff and corps commanders, see §3 Forces.
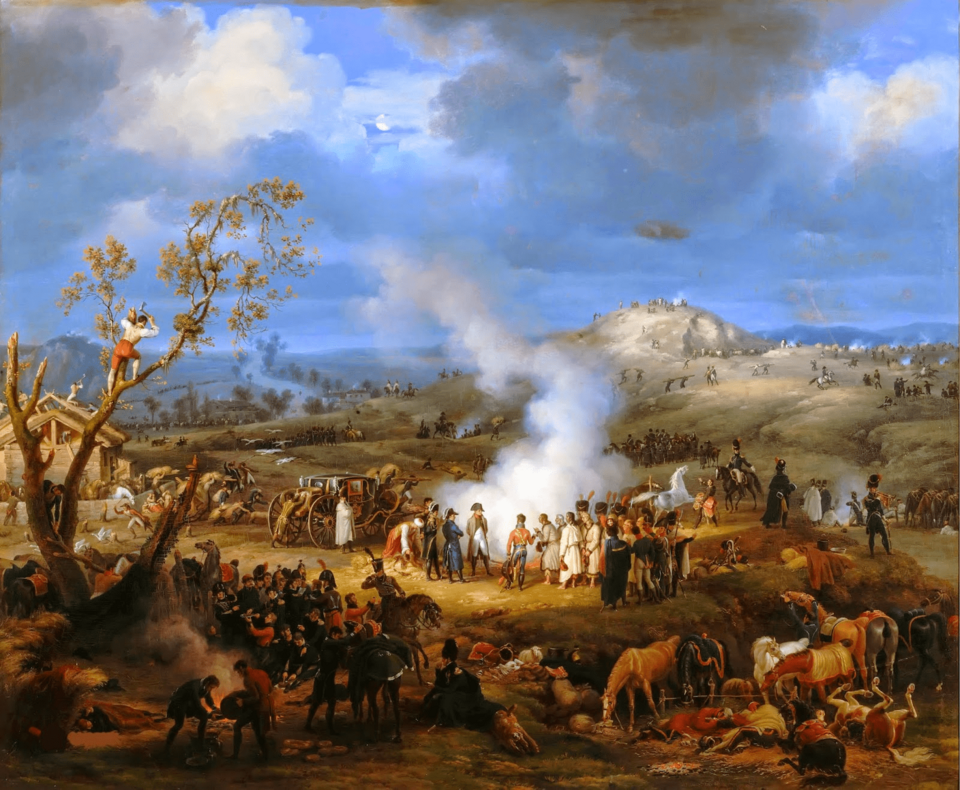
The French soldiers and their emperor on the eve of battle. The procession of torches became famous.
2. Strategic Background: Why a Decisive Battle Had to Happen Here
In 1805 the Third Coalition (Britain, Austria, Russia) drew an encircling net around Napoleon. But in October, Napoleon surrounded the Austrian army in the Ulm campaign through maneuver alone, without a major pitched battle — the surrender of 20 October neutralized about 25,000 men, and roughly 50,000–60,000 across the campaign as a whole[1] (local actions such as Haslach and Elchingen were involved, but it was a strategic encirclement without a clash of main forces). What remained were the Russian army and the surviving Austrian forces falling back toward Vienna.
What matters here is that both Napoleon and the Allies had reasons to seek a decisive battle quickly — each for a different reason:
- Napoleon: his supply line ran more than 600 km from the Rhine, and winter was near. If Prussia entered the war he would be surrounded. Strategically he could not hold on unless a short, decisive battle ended the campaign.
- The Allies: a retreat would be read diplomatically as "defeat." The young Tsar Alexander I wanted a victory that carried prestige. The "fall back toward the Carpathians" strategy urged by Kutuzov and the older veterans was taken for cowardice and rejected[4].
When both sides chose to "fight here," the one who designs the battlefield conditions first wins. Napoleon understood this.
Napoleon read this political dynamic and designed the battlefield on the premise that "the Allies will attack of their own accord." From here his operation shifts to a design that steers the enemy's very decision-making.
3. Forces and Terrain
3-1. Chain of command
French Army (under the Emperor)
-
Supreme command
Napoleon (Emperor · age 36)
-
Chief of staff
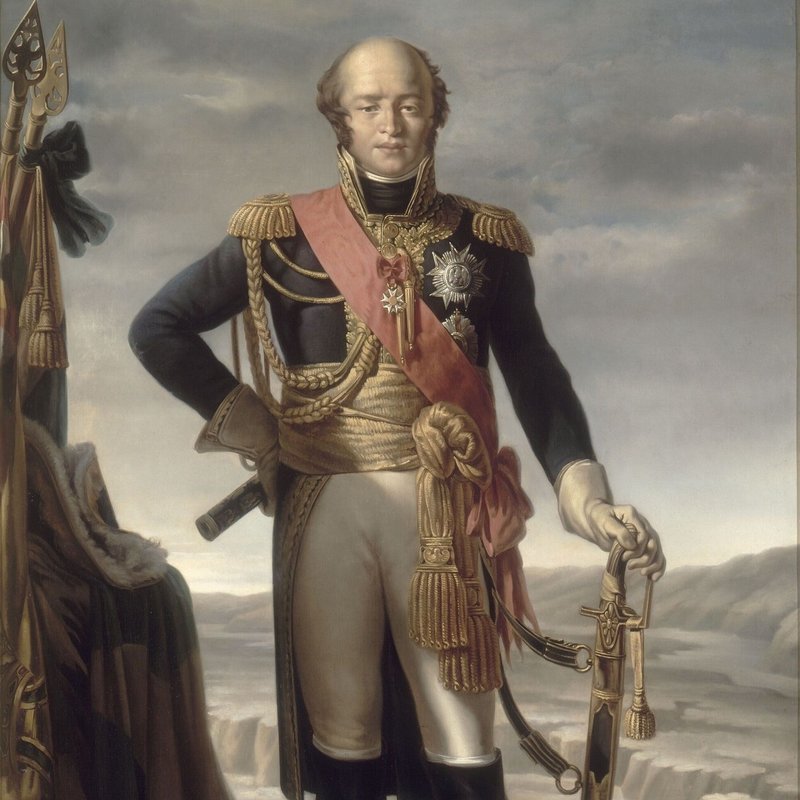
 Louis-Alexandre Berthier (age 52)
-
Principal field commands
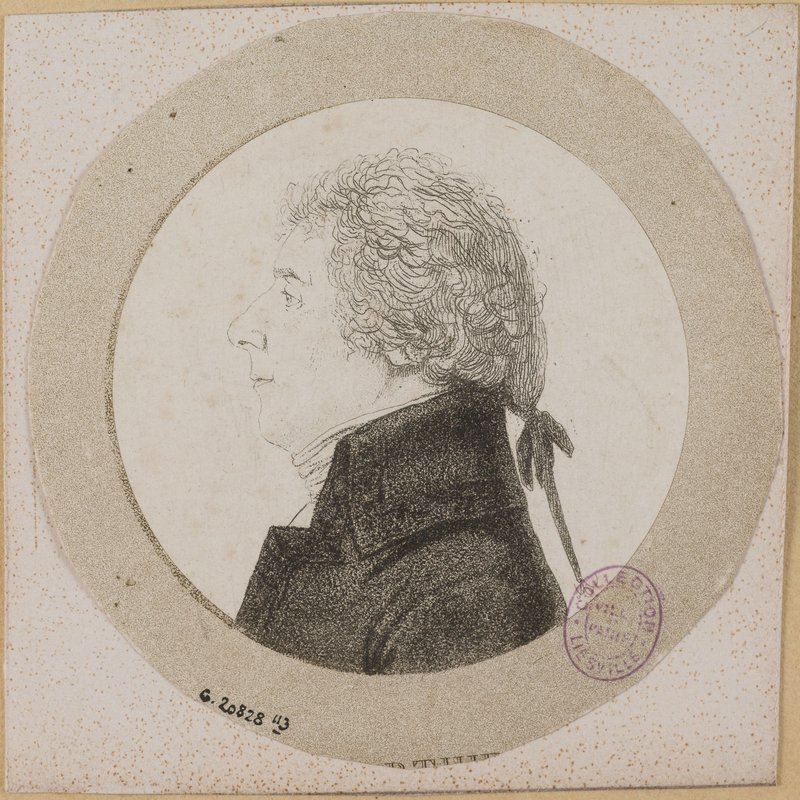
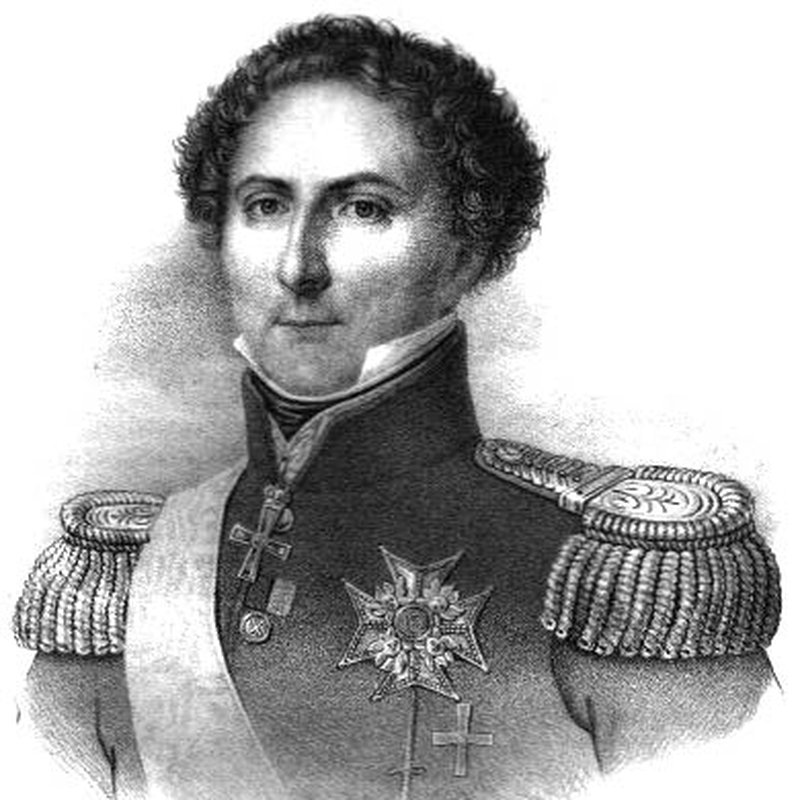
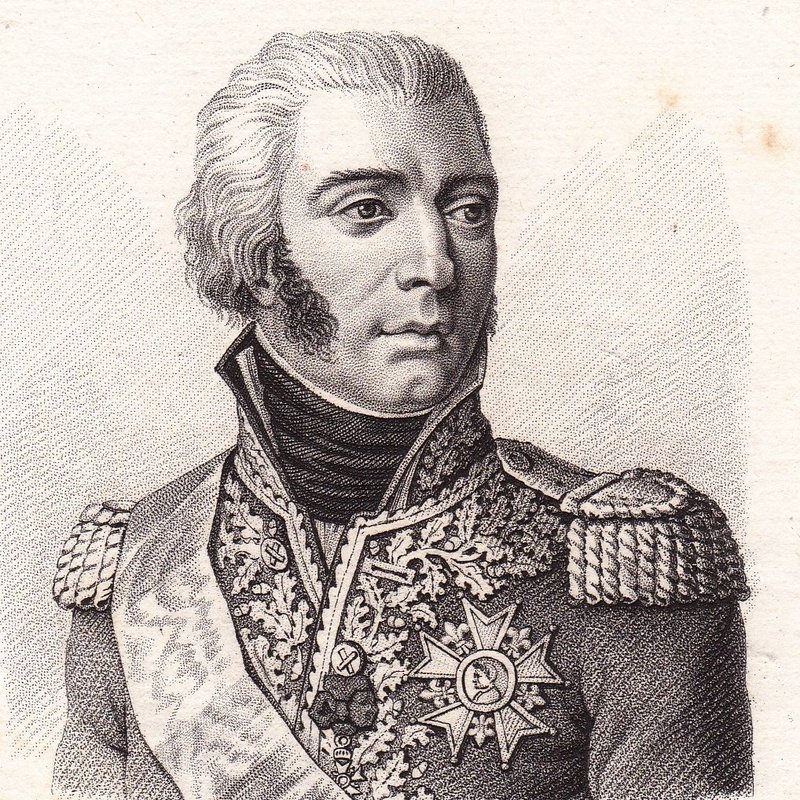
 Louis-Nicolas Davout (III Corps · age 35)
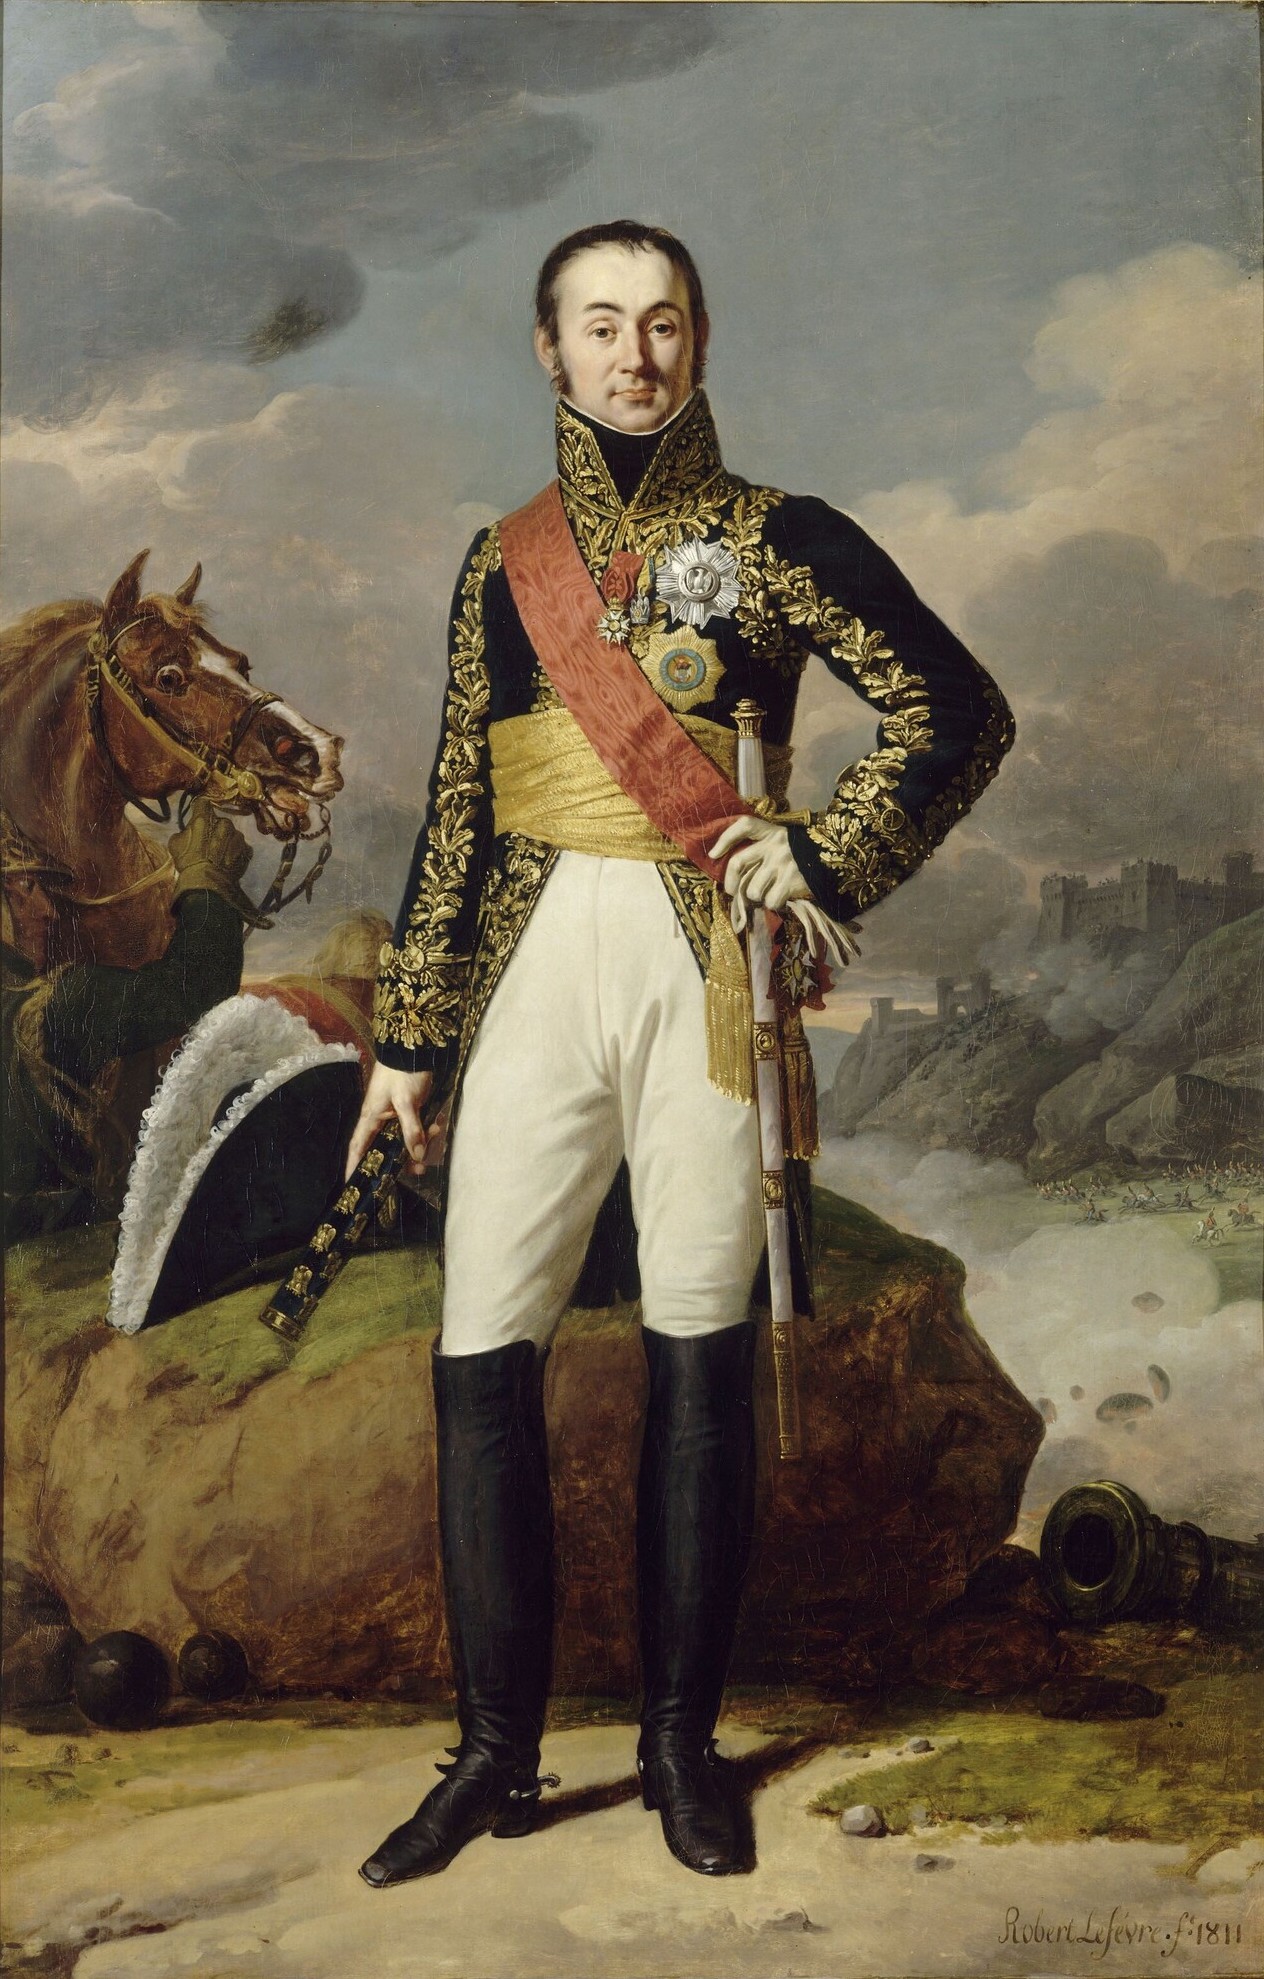
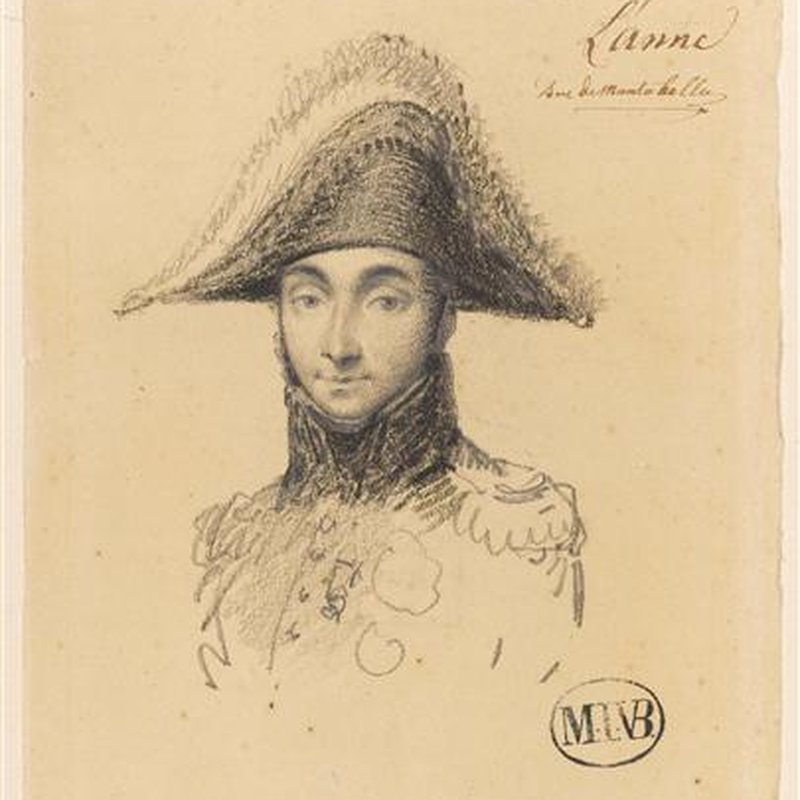 Jean Lannes (V Corps · age 36)
 Jean-Baptiste Bernadotte (I Corps · age 42)
-
Guard & grenadiers
 Jean-Baptiste Bessières (age 37)
 Nicolas Oudinot (grenadiers · age 38)
Allied Army (Russia & Austria)
-
Highest political authority (intervening on the spot)
Alexander I (Tsar of Russia · age 27)
Francis II (Emperor of Austria · age 37)
-
Nominal commander-in-chief (stripped of real power)
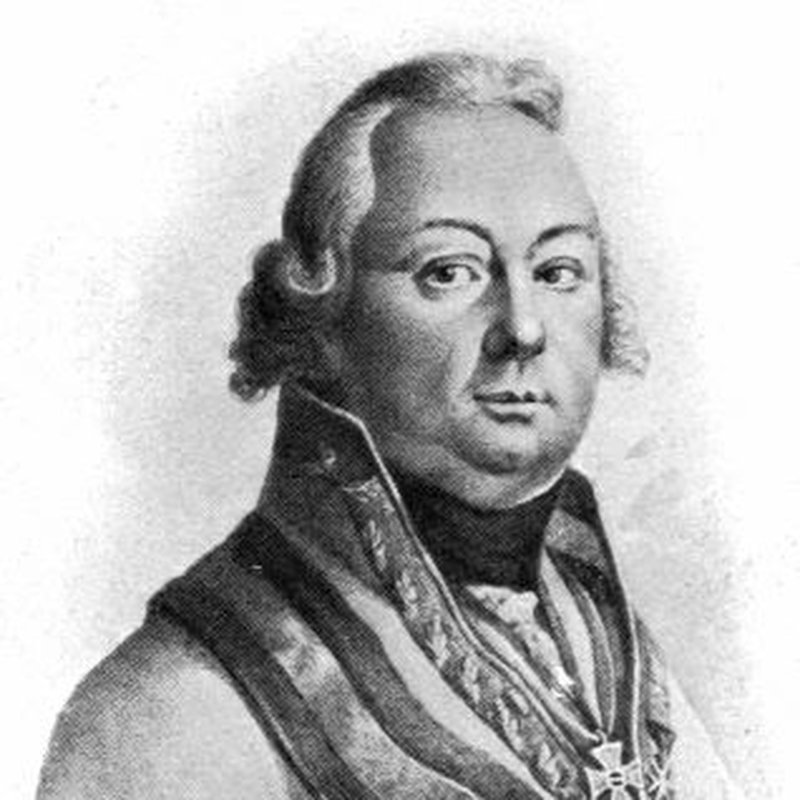
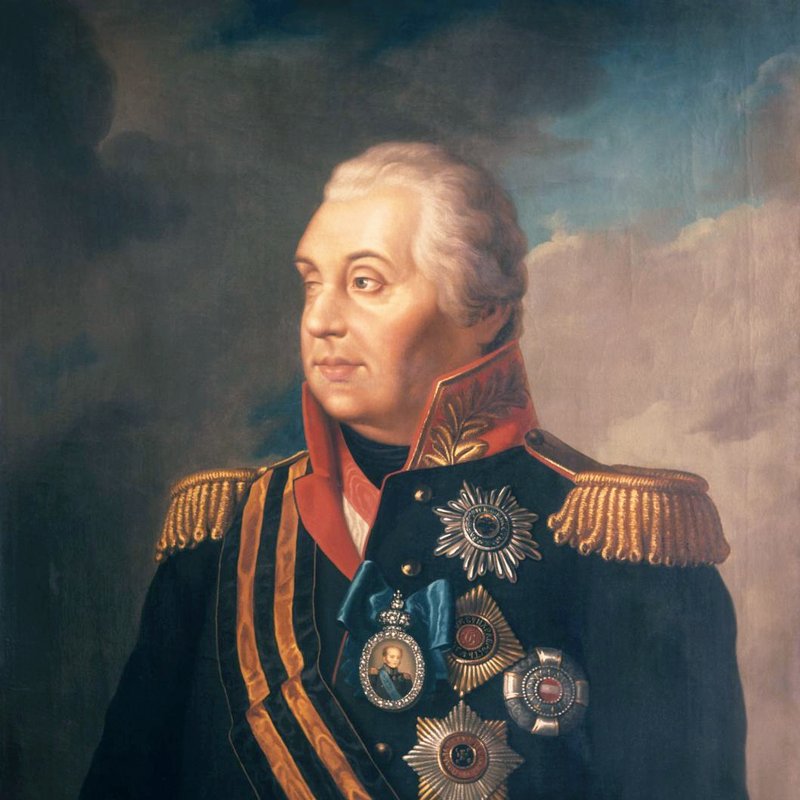 Mikhail Kutuzov (age 60)
-
Chief of staff & operational planner
 Franz von Weyrother (age 50)
-
Principal field commands
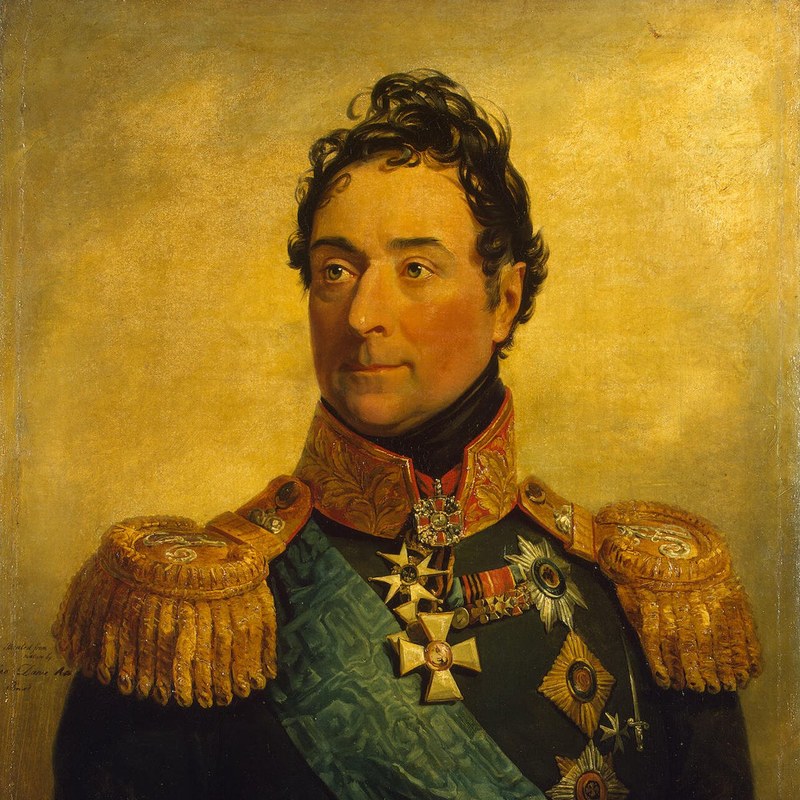
 Pyotr Bagration (right wing · age 40)
 Louis-Alexandre de Langeron (2nd Column · age 42)
 Johann von Kolowrat (4th Column · age 56)
3-2. Terrain: the Pratzen Heights decide everything
The Austerlitz battlefield is a gently rolling country spread along the road linking Brünn (present-day Brno) in the west and Olmütz (Olomouc) in the east. The Pratzen Heights — a gentle plateau running north-south through the center, only some tens of meters above the surrounding plain — are the field's hinge[3].
Whoever holds the heights gains the advantage in the following:
- Observation: the field can be seen in every direction
- Use of artillery: the elevation extends range and improves accuracy
- Movement and concentration: reserves can be fed freely to either wing
- Intervention on both wings: the opponent finds each wing isolated in turn
By ordinary logic, "hold the heights from the start" is the textbook move. Yet Napoleon deliberately broke from it. Three days before the battle he withdrew the French army from the Pratzen Heights and deployed in the low ground to the west[3]. He also made the right flank to the south (the Telnitz / Sokolnitz sector) deliberately look thin. To the eyes of the Allied staff officer Weyrother, this looked like "Napoleon has lost his will to fight and is preparing to retreat."
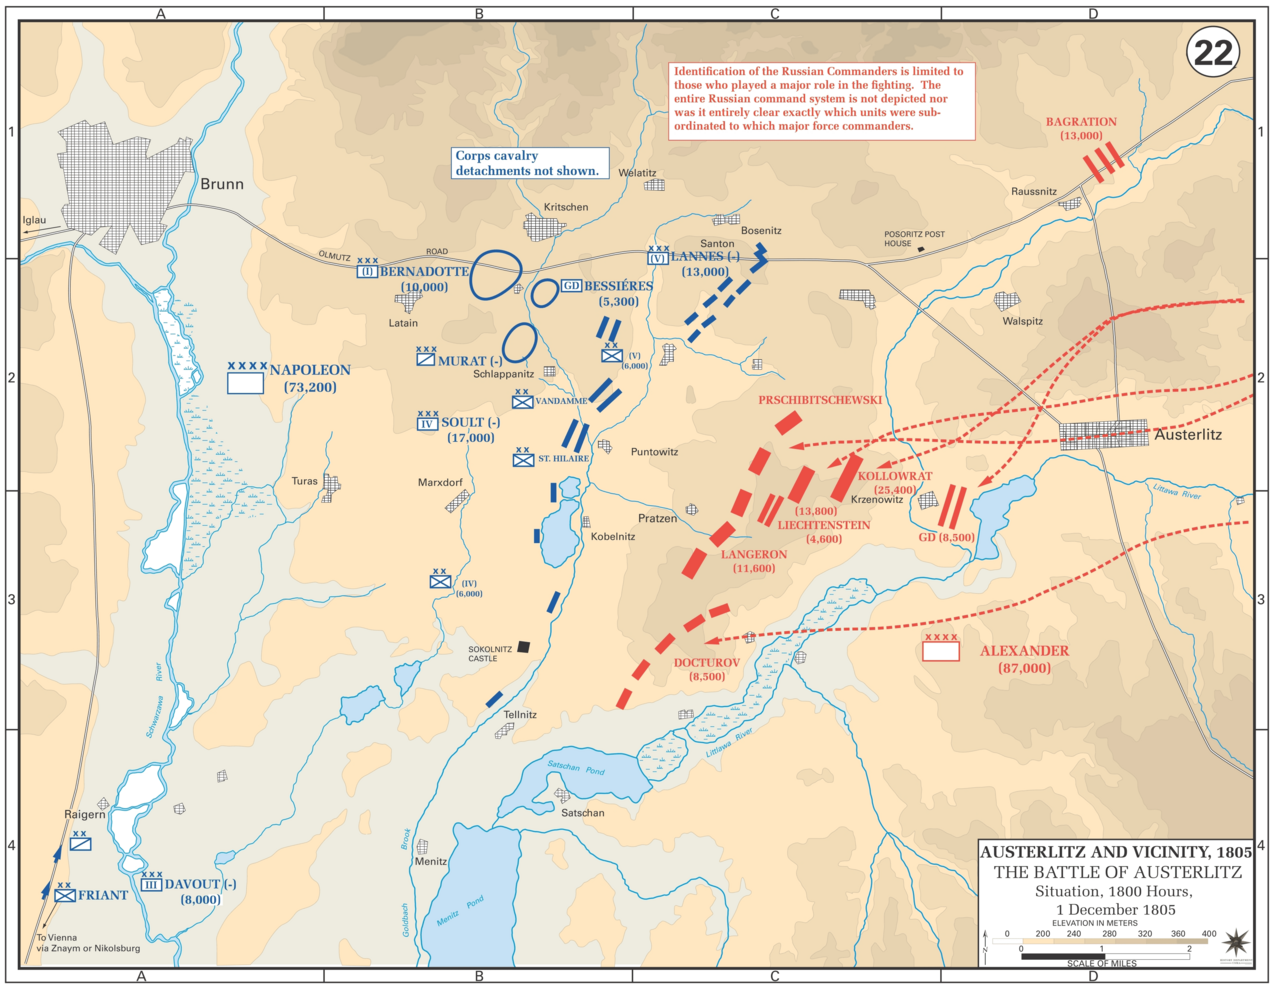
Map: Battle of Austerlitz, Situation at 1800, 1 December 1805, Public Domain, via Wikimedia Commons
The Allied plan (the Weyrother plan) sent about 40,000–60,000 men — three of the five columns forming the left-wing main effort — south to envelop the French right, and by the textbook it was reasonable[4]. But the unspoken premise of the plan was that "the central Pratzen Heights remain in Allied hands." What would happen the moment that premise collapsed, the Allied staff had never considered.
4. Course of the Battle (Three Phases by the Clock)
4-1. Morning, 07:00–08:45: the Allies move south
As the Weyrother plan dictated, the Allies brought troops down from the Pratzen Heights toward the south and began deploying toward Telnitz. The southern enveloping force of roughly 40,000–60,000 under Buxhöwden (the left-wing main body built around three columns; figures vary by source) left the heights in turn and moved into position to envelop the French right.
This movement caused the troop density in the center of the field to fall rapidly. On the central heights only the 4th Column remained (the mixed Austro-Russian force under Kolowrat and Miloradovich, about 12,000–16,000).
Meanwhile the French main body in the low ground — above all Soult's two divisions of IV Corps, about 16,000, slated to carry the central breakthrough (the whole corps was about 23,000) — lay hidden by the morning fog. After the previous night's forced march, Davout's III Corps had reached the Telnitz sector and stood facing the southern Allied main body, at first with about 7,000 (reinforced in stages to more than 10,000 over the day).
4-2. 08:45–11:00: the fog lifts — the breakthrough into the center
At 8:45 a.m., when the morning fog rose and the enemy's southward movement could be seen in full, Napoleon decided to attack[5].
The two divisions of Soult's IV Corps (Saint-Hilaire and Vandamme) advanced all at once onto the Pratzen Heights. But seizing the heights was not the work of a moment. The mixed Austro-Russian force under Kolowrat and Miloradovich stood firm, and Saint-Hilaire's division was even pushed back at one point in a fight of more than an hour. Before the Allies could rebuild a footing for a counterattack, the central heights were under control by around 11:00.
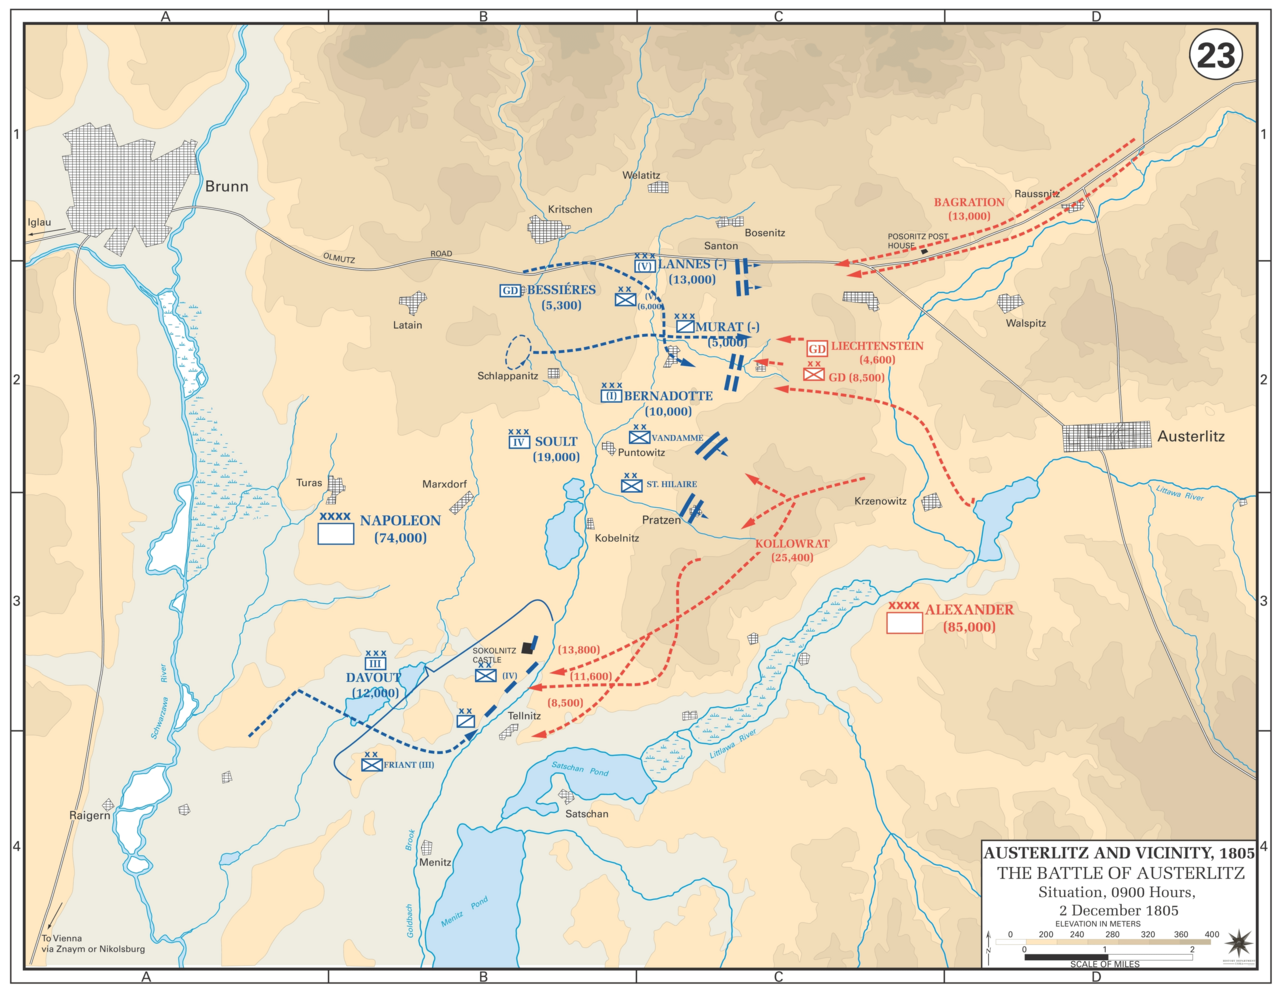
Map: Battle of Austerlitz – Situation at 0900, 2 December 1805, Public Domain, via Wikimedia Commons
What matters is that this was not chance. He did not attack because the fog lifted; he broke through after confirming the enemy's movement. This was a move that detected the result of the lure and was executed as planned.
4-3. 11:00–14:00: taking the center = splitting the battlefield
Having lost the central heights, the Allies lost contact between their southern and northern forces. At this moment the engagement changed from a "pitched battle" into a "split set of local fights." A unified counterstroke became impossible, and each formation was forced into an isolated response.
The Allies attempted a counterattack to recover the center, built around the guard cavalry of the Russian Imperial Guard (under Grand Duke Constantine, about 8,500). For a moment they broke the French line and showed enough momentum to seize the only eagle-standard the French lost that day. But they were thrown back by the Guard cavalry (Bessières) and Rapp's charge that Napoleon committed, together with the flank support of Bernadotte's corps (Drouet's division)[1].
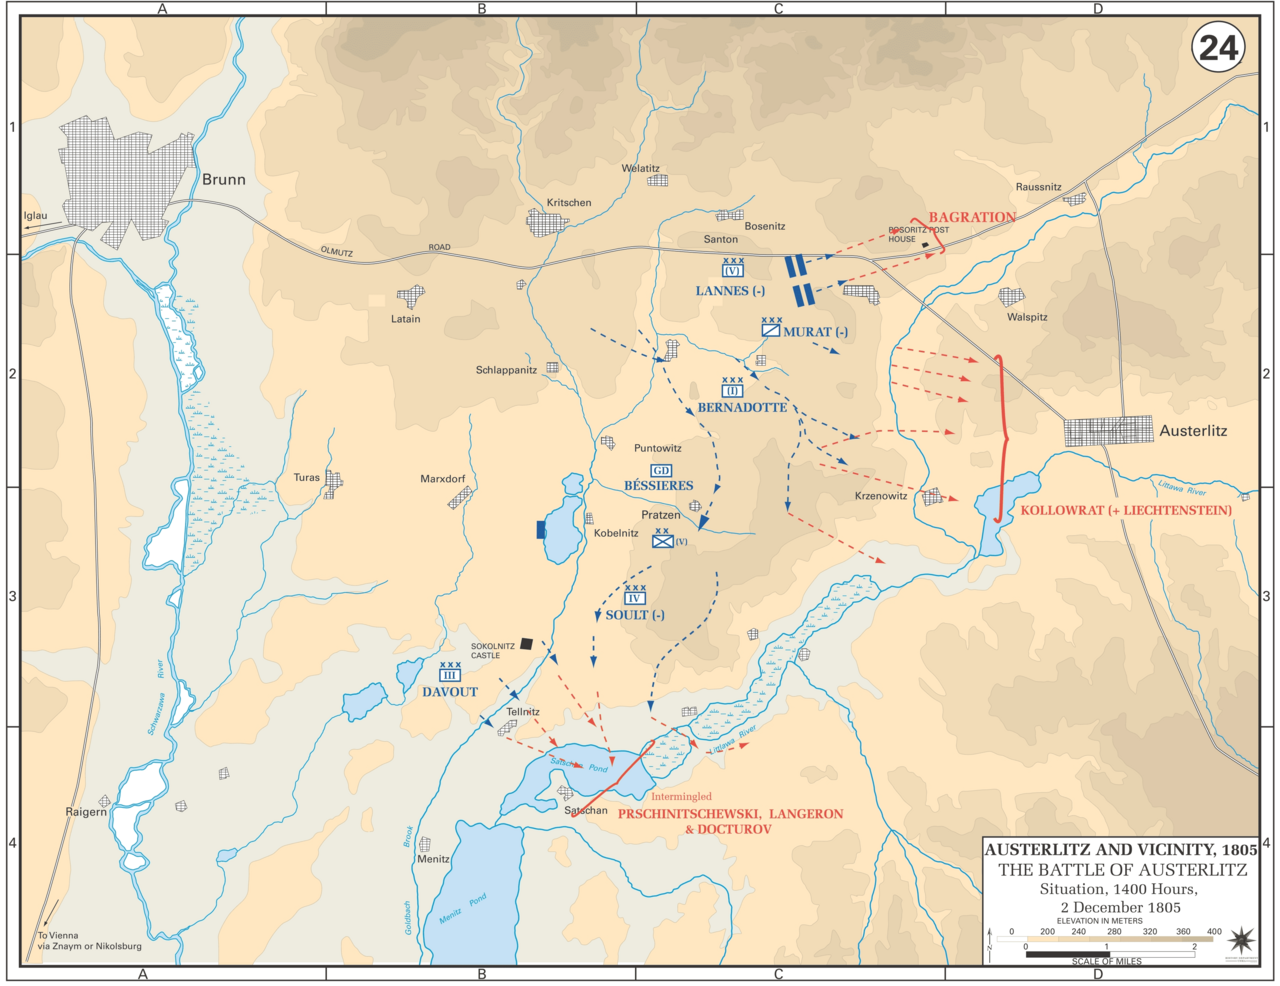
Map: Battle of Austerlitz – Situation at 1400, 2 December 1805, Public Domain, via Wikimedia Commons
4-4. 14:00–16:00: mopping up after the split
With the center secured, the French built up local superiority in a chain against the isolated Allied main body to the south (Buxhöwden's three columns). They rushed down the slopes from the heights to strike from behind, while at the same time Davout turned to the counterattack from the west. Caught front and rear, the Allies broke up as an organization and fled in confusion into the frozen lake country (the Satschan and Menitz ponds).
That night the Emperor of Austria, Francis II, sent envoys to seek an armistice. It was the moment the campaign — and with it the war known as the Third Coalition — was in effect over.
5. Tactical Analysis: The Four Factors of Victory
From the lifting of the morning fog to the decision in the late afternoon was about seven hours (about nine hours overall, counting the early skirmishing on the southern wing). A victory of 72,000 against 87,000 — for this to come about, four structural factors had to be in place at once. If even one were missing, the lure would not work.
Designing the lure: exploit the enemy's rationality
Napoleon spent three days building the perception that "the right flank looks weak" — withdrawal from the Pratzen, a feigned offer of truce, a feigned retreat at Wischau[3]. He made the enemy think "this is the chance to envelop." What matters is that the enemy was not wrong. The more rational they are, the better the lure works.
"Give up" the key point and then take it
Everyone knew the value of the Pratzen Heights. That is precisely why Napoleon gave them up first. He let the enemy hold them, then took them the moment the enemy abandoned them by moving south. By "having them given up before taking them," the central heights became the blade that split the field. Held from the start, they would have ended as mere "holding the high ground."
Timing: do not miss the window
The attack opened at 8:45, just after the fog lifted — in the short window after the enemy's southward move was confirmed but before its main body could return[5]. Too early and the center is firm; too late and the right flank collapses. Timing mattered as much as position.
Sequential exploitation after the split
A central breakthrough does not end with a single success. The moment the field is split, the enemy can be processed in turn while isolated. Buxhöwden's main body to the south is struck from above and caught by Davout's counterattack from the west. Because this chain was possible, a local numerical disadvantage (72k vs 87k) was converted into tactical superiority (decided in 7 hours).
The figure below organizes this structure:

In other words, Austerlitz was not a case of "striking the center" but of "creating the conditions to be able to strike the center." This is, nine years on, the completed form of the idea that began at Lodi — "creating the conditions to be able to cross the bridge."
5-1. A closer look at timing: the "window" of attack
Factor #3, "timing," is hard to convey in words, so let us lay it out on a time axis:

6. Why the Allies Lost: Not a Blunder but a Fragile Plan
The Allied plan — wrap around the French right, take its rear, and push out the main body — was a textbook winning line. But that winning line rested on an unspoken premise: "the center is stable"[4].
- The center thins out
- It is struck there
- The center splits
- The right-flank envelopment loses its place to return to (its line of communication)
In short, the cause of defeat was not "the judgment was foolish" but that the moment the premise collapsed, there was no Plan B. This is the structural heart of the defeat.

7. Strategic Consequences — The War Austerlitz Ended
The strategic consequences of Austerlitz were not limited. This single day's battle ended the war that was the Third Coalition itself[2].
- 4 December: Francis II personally requested a meeting with Napoleon and accepted an armistice
- 6 December: a formal armistice (the Armistice of Austerlitz)
- 26 December: the Treaty of Pressburg is signed. Austria cedes the Veneto, the Tyrol and other lands and withdraws from the coalition
- August 1806: Francis II formally dissolves the Holy Roman Empire. The medieval empire, which had lasted about 840 years since the coronation of Otto I in 962, comes to an end; thereafter he rules as Emperor of Austria Francis I
Lodi was a case of "a tactical victory to which a strategic chain happened to attach." Austerlitz is the reverse — a rare instance in which a tactical victory reached directly to a change of regime in the opposing state. The reason Napoleon later called it his "masterpiece" lies here: in a single day's battle, he redrew the political map of Europe.
Yet in the long run it was a double-edged sword. The bitter defeat at Austerlitz can be read as having impressed on Alexander I "the folly of rushing into a head-on decisive battle with Napoleon." Seven years later, in the Russian campaign, the Russian army adopted the withdrawal-and-scorched-earth strategy begun by Barclay de Tolly (and his successor Kutuzov carried on this attritional course), avoiding a decisive battle and eating away at the French army along its overstretched supply line — ironically, the same idea Kutuzov had urged in 1805 only to be overruled. The strategy rejected at Austerlitz swallowed Napoleon himself in 1812. Over the long view, the masterpiece victory was also a teaching device for the victor.
8. Mythmaking and the Design of the Story
Napoleon poured as much effort into turning victory into story as into victory on the field. The two most famous myths of Austerlitz — the "Sun of Austerlitz" and the "thousands of Russians drowned in the lakes" — are both the result of Napoleon dramatically editing the facts of the day in his official report (the Bulletin).
| Layer | Fact | Napoleon's staging | Influence on posterity |
|---|---|---|---|
| Fog and sun | The fog lifted around 8:45 on 2 December (a meteorological fact) | the "Sun of Austerlitz" smiles on us (Bulletin) | Promoted into the symbolic vocabulary of the Empire. On the morning of Borodino in 1812, Napoleon is said to have cried, "It is the sun of Austerlitz!" |
| Retreat over the lakes | Confusion on the frozen ponds and some falling through (the real figure in the hundreds; sources range from 200 to 2,000; a drainage survey found 2–3 bodies and about 150 horses) | "thousands sank into the lakes" (Bulletin) | Made literary as a symbol of the "ruthless conqueror" |
| "Masterpiece" | A tactically epoch-making lure operation | Napoleon rated it his "masterpiece" in his memoirs | Fixed as an object of analysis by later military theorists (Jomini, Clausewitz) |
What matters is that this is not a lie but "staging." The fog lifted, men did sink in the lakes, the tactics were epoch-making — all of it is built on a core of fact. But Napoleon dramatically edited the scale and causation of the facts, converting the events of the field into the ideology of the Empire. This is, nine years on, the completed form of the method that began at Lodi — "running victory on the field and the design of the story in parallel"[3].
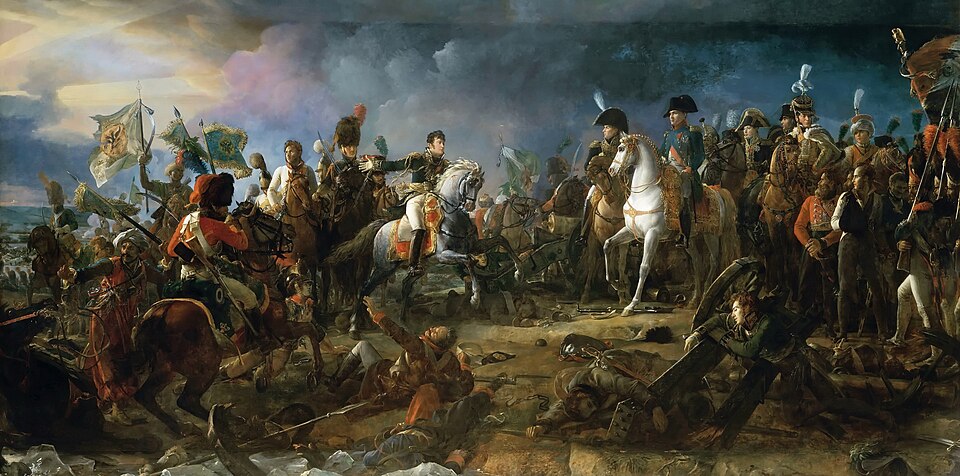
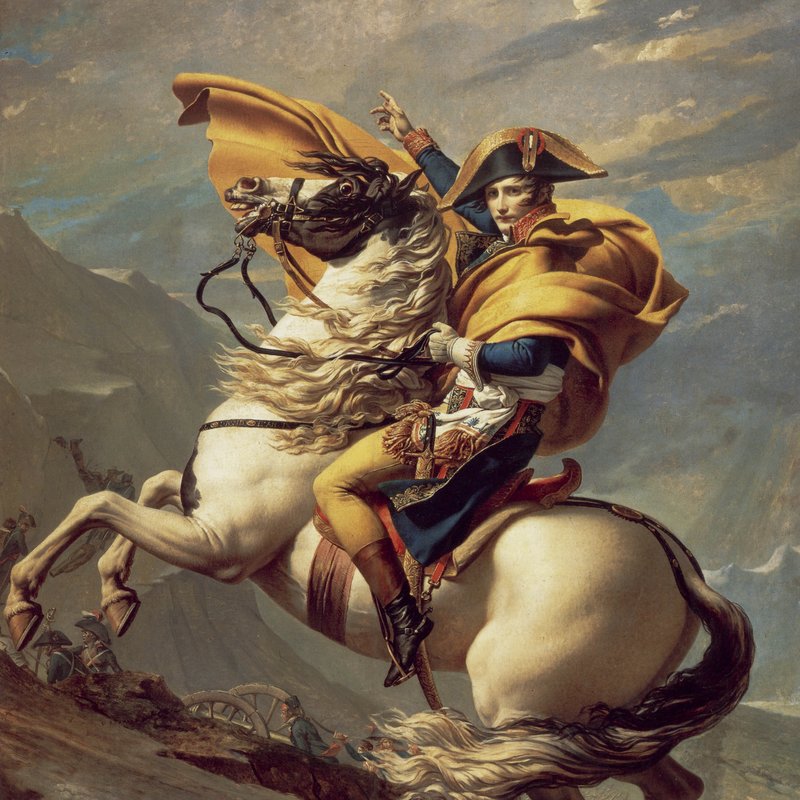
Napoleon on a white horse at the center. Painted five years after the victory, already conceived as a symbolic picture of the Empire.
Long-term result: fixed as the summit of the Napoleon myth → after 1815, the trap of chasing "another Austerlitz" and failing
9. Counterfactual Simulation
The four factors of §5 (designing the lure, fixing the key point, timing, the chain after the split) are interdependent. Here we examine the three branches that produce the most "qualitatively different outcomes" (the outcomes of a counterfactual cannot be proved; this section is a thought experiment that visualizes the dependencies among the factors).
| Branch | Tactical outcome | Long-term effect on the Empire |
|---|---|---|
| A: the Allies adopt Kutuzov's retreat strategy | The battle of 2 December never happens. Napoleon's army reaches the limit of its supply line and is forced to withdraw for winter quarters. | The 1812 "trap" is triggered seven years early — but not inside Russia, rather in the Ukraine–Carpathian region. Napoleon wins no decisive victory at Austerlitz, and the Empire's expansion must be made up at Jena and Friedland in 1806–1807. The Empire's zenith still comes, but the "masterpiece" is never born. |
| B: the Weyrother plan proceeds, but Davout fails the forced march | The French on the southern wing collapse and the Allied envelopment succeeds. Napoleon loses the timing for the central breakthrough, and the tactical victory becomes limited. | A narrow win or a draw at best. No regime change like the Treaty of Pressburg occurs, and Austria conserves its forces to prepare for another round. The dissolution of the Holy Roman Empire is delayed by several years, or happens in another form. Davout's reputation ends at "able administrator," and the byname "Iron Marshal" is never born. |
| C: the Allies do not move from the central heights (they hold the high ground) | Napoleon's lure does not work. No chance to attack arrives, and the standoff drifts into winter. Both sides wear down in small-scale contact. | Napoleon is forced to create a different pattern of victory on a different field. Probably, to settle matters before Prussia enters, he mounts a more adventurous battle. The chance of success falls, and an Austerlitz-class mythic victory is made elsewhere in another form. Either way, the title of "masterpiece" attaches to a different battle. |
What runs through all of these: for Austerlitz to become the "masterpiece," the enemy had to have the will to attack and to draw up a rational plan. In branch A (retreat) the opportunity vanishes; in B (no Davout) the pincer structure collapses; in C (holding fast) the lure does not bite. Napoleon's victory depended on the ambition of a 27-year-old young emperor and the meticulousness of a 50-year-old staff officer functioning at the same time. Had the youth and the meticulousness been absent together, the battle itself would have worn another face.
10. Lessons for Today
What Austerlitz offers the modern reader is not the imitation of a particular tactic but "the design that steers the rational judgment of the other party (a competitor, an enemy, a user)."
- "Looking weak" is a form of strength: a situation that makes a competitor think "we can win this" is the most effective material for steering that competitor
- The key point is decided dynamically: "most important" is not fixed. The moment the other side gives it up, that place becomes most important
- Split first, then process: rather than beating a strong opponent head-on, it is surer to cut their coordination and then handle them in turn
10-1. Applying It to Modern Cases
BlackBerry vs. the iPhone (2007) — an example of defending the wrong high ground: in 2007, with the first iPhone, Apple openly rejected the physical keyboard and bet on the touchscreen. RIM, which led BlackBerry, at first treated this lightly as "one more entrant in the market" (Balsillie remarked that he had "not even seen the actual device yet") and concentrated its resources on defending its stronghold, the enterprise physical-keyboard handset. Inwardly the leadership sensed the threat (Lazaridis is said to have let slip, "we're not going to be competing against Nokia, we're going to be competing against the Mac"), but the rational decision to defend the "central high ground" of existing customers delayed the move onto the new decisive field — the app ecosystem. By the time RIM changed course, Apple had seized the new high ground with the App Store (2008). This is the same structure as the Allies clinging to the existing winning line of "our own envelopment plan" and overlooking the true decisive point (the center) that Napoleon had shifted to — the key point moves while the other side is tied to the old high ground.
Netflix vs. Blockbuster (2000s): Blockbuster tried to defend the "central high ground" of its physical store network. Netflix began with DVDs by mail, and even at the move to streaming in 2007 it did not deny Blockbuster's stores — "keep the stores; we are online only." Blockbuster, tied to the cost of maintaining a store network of about 9,000 outlets at its peak (2004), could not move and went bankrupt in 2010. In the meantime Netflix took the center (the standard for video distribution). The key point becomes most important the moment the other side gives it up.
The "kuzushi" (off-balancing) of judo: shift the opponent's center of gravity, then apply the technique. Unless the opponent moves on their own, the throw does not come off. The structure of turning the opponent's rational judgment (the urge to recover stability) against them is essentially the same as the Austerlitz lure — a practice 220 years apart converging on the same design logic.
There is no evidence that these three cases consciously referenced Austerlitz. But the structure is a perfect match — do not put on a show, let the opponent choose the field they prefer, then wait for the opponent to move of their own accord and settle matters on a different field. "The design that exploits the enemy's rationality," born at Austerlitz, is reproduced 220 years later in business and sport.
In Closing: The Field Where an Empire Shone for Seven Hours
Austerlitz is the battle that symbolizes the summit of Napoleon's empire. But its essence lies neither in the emperor's own genius nor in the charge of the Guard. A method that reads the enemy's rational judgment and uses the enemy's own plan to design the battlefield — it is the most beautiful crystallization of an idea that budded at Lodi and reached completion at Austerlitz.
Seven hours. That was the span in which the Empire shone. He would run into the limit of that same design — that it does not work on a field where the opponent's rational judgment cannot be read — ten years later at Waterloo. The method that shone at Austerlitz breaks down at Waterloo. Read the two together and the strengths and the limits of Napoleon's tactics come into view at once.
FAQ
Many historians — including Chandler (1966) and the Fondation Napoléon — rank it as his masterpiece not for a single tactical stroke but because a lure that exploits the enemy's own rational judgment worked consistently across every layer, from the pre-battle diplomacy through the deployment, the fighting, and the peace settlement. Deliberately giving up the central heights, making the right flank look thin, feigning weakness and staging a false retreat all chained together to hand the enemy a chance to envelop. It was a victory of decision-design rather than of military design.
They stood at the center of the field — a gentle plateau only tens of meters above the plain, yet a hinge from which observation, artillery range and troop movement reached in every direction. Whoever held them could control the link between the two wings while the opponent found each wing isolated in turn. Knowing this, Napoleon deliberately gave them up first so the enemy would take them, then recaptured them the moment the enemy moved south — maximizing their value by having them given up before taking them.
Kutuzov and the old guard argued for falling back toward the Carpathians and attacking Napoleon along his overstretched supply line. But the 27-year-old Alexander I, prompted by his young courtiers (Dolgorukov and others), took retreat for cowardice; with the outburst "Then we had all better die here" he swung the council toward attack and shifted the chief-of-staff role from Kutuzov to Weyrother. The root of the structural defeat lay not in any battlefield judgment but in the distorted delegation of authority before the battle (Mark 2023).
As to facts, the sources agree that a thick fog lay over the field at dawn on 2 December, began to lift around 8:45 a.m., and that the moment it cleared the hidden French artillery became visible and the Allied move south could be confirmed. But the sun did not decide the battle; the contrast of fog and sun is a staging device crystallised into myth in Napoleon's bulletin and later memoirs. The decisive tactical factor was the timing — advancing the breakthrough force under cover of fog and striking the instant it cleared.
Napoleon's official report (the 30th Bulletin) claimed thousands — in the exaggerated version twenty thousand — drowned, but after the battle the lakes were drained on his own orders and only a handful of bodies and about 150 horses were found (Britannica). Modern estimates put the figure in the low hundreds; "thousands" is not pure invention but the scale was greatly inflated in the report. The claim that French gunners deliberately broke the ice is also best read as ordinary fire on the fleeing enemy that then caused some to fall through. The decisive factor was not the lakes but the central breakthrough on the Pratzen and the splitting of the field.
Davout's corps had been about 100 km away on the eve of battle, but by forced march it reached the Telnitz sector overnight. From the next morning it held back, with only about 7,000 men at the outset (reinforced past 10,000 over the day), the huge Allied southern wing — Buxhöwden's left of roughly 40,000–60,000 (figures vary) — trying to envelop the right. Had it broken, the whole lure strategy would have unravelled; Davout reportedly gave the strict order "let not one escape" (Chandler 1966, p. 431). By buying time for the central breakthrough, he is rated the unsung hero of Austerlitz.
Austria met Napoleon on 4 December, agreed an armistice (signed 6 December), then concluded the Treaty of Pressburg on 26 December and dropped out of the Third Coalition, ceding the Veneto, the Tyrol and more; the following August (1806) Francis II dissolved the Holy Roman Empire and ruled thereafter as Francis I of Austria. Russia's Alexander I can be read as having taken the defeat as a lesson in the folly of rushing a head-on battle with Napoleon — and in 1812 the withdrawal-and-scorched-earth strategy that Kutuzov had urged in vain in 1805 wore the French army down. The Austerlitz victory ironically laid the groundwork for destroying the victor seven years later.
Claims and Sources
- David G. Chandler(1966). The Campaigns of Napoleon, Macmillan.
- Encyclopædia Britannica. Battle of Austerlitz, Encyclopædia Britannica. [link]
- Fondation Napoléon. The Battle of Austerlitz and the Principles of War, napoleon.org. [link]
- Harrison W. Mark(2023). Battle of Austerlitz, World History Encyclopedia. [link]
- Wikipedia contributors. Battle of Austerlitz — Wikipedia, Wikipedia. [link]